*Supplies
*Star paper, or thin scrapbook paper 7/16" (There are some links to where you can buy this below)
That's all! Pretty easy right?


First, you need your star paper. I can't remember where I got mine, but here are a few links to where you can get some!
Paperdesigner (Etsy) {click}
Origamipalace (Etsy) {click}
Japanese Paper and Origami Supplies {click}
Origami Paper Store {click}
 1. Tie a knot near the end. Fold the excess over as shown.
 2. This part is a little tricky to explain. You fold over the strip, following the shape as you go. Below is an example of how NOT to do it.
 This is how you should do it! Just follow the pentagon shape and make sure everything is lying flat.
 3. Keep on going until you have about 1" left. Fold this under a vertical fold, like above. Tear off the extra.
 4. Using your fingernails, squish the star into shape. I like to start at the right side, but you can begin anywhere!
 5. Done! You can make lots more and put them in a pretty glass vase, or make them into earrings!
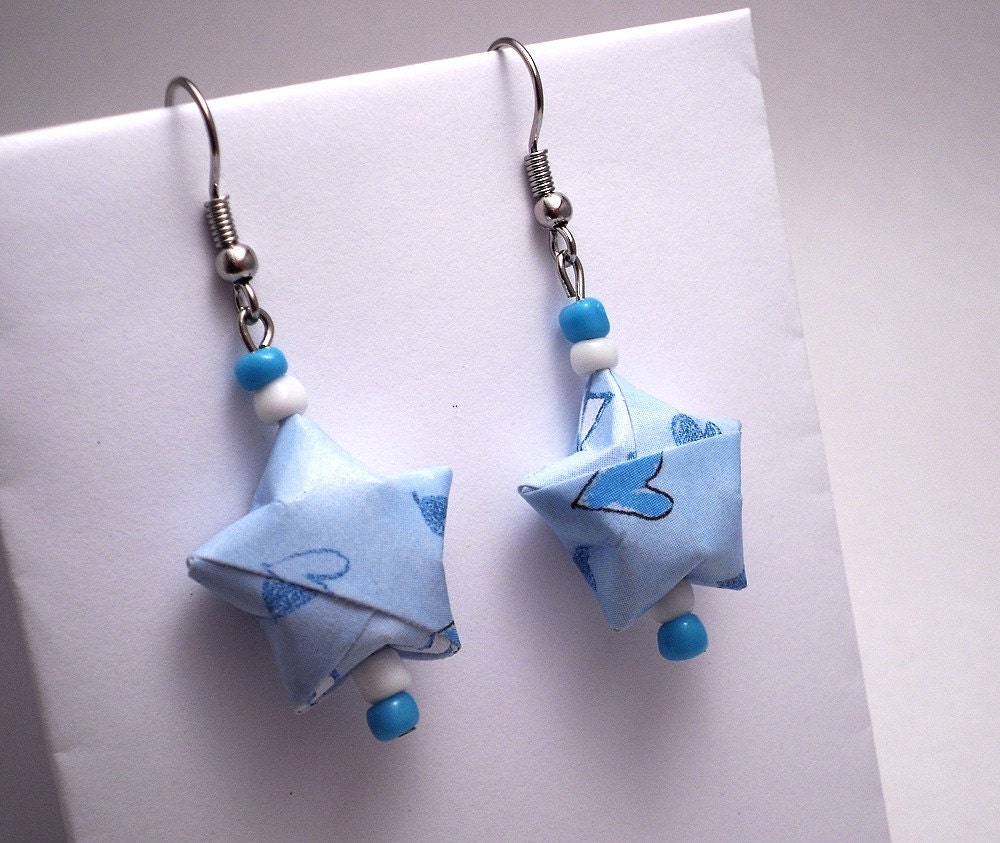
source
I hope this tutorial was easy to understand and helpful! If you have any requests or questions, please comment!
See ya later,
Semalina
See ya later,
Semalina
0 little birds said...:
Post a Comment
Thanks for commenting on Blue, Green, Orange!
I enjoy reading every comment, and I love to know what my readers are thinking!